
Prep Like a Pro: 5 Steps before Your DIY Painting Project
March 22, 2025
Hardware, Paint & Home
Are you gearing up for a DIY painting project at home? Whether you're refreshing your living room walls or tackling the exterior siding, proper surface preparation is the key to achieving a professional-quality finish. In this comprehensive guide, we'll walk you through everything you need to know to prep like a pro before you pick up that paintbrush.


We would love to see your color refreshes, use #mywilcolife on Facebook, Twitter, or Instagram and tag Wilco Stores.
Importance of Surface Preparation
Before diving into the fun part of painting, it's crucial to prepare your surfaces thoroughly. Proper preparation not only ensures a smooth and long-lasting paint finish but also helps in identifying and addressing any underlying issues that could affect the outcome. Here are the main steps to master surface preparation:
Steps to Prep Surfaces
1. Cleaning and Inspection
Start by cleaning the surfaces you plan to paint. Remove dust, dirt, and grease using a mild detergent and water solution. For exterior surfaces, consider pressure washing to remove built-up grime and mildew. Once clean, inspect the surfaces for any cracks, holes, or imperfections that need to be addressed before painting.2. Patching and Repair
Fill in any cracks or holes using a suitable filler or spackling compound. For larger gaps or damaged areas, consider using a patching material designed for your specific surface type (e.g., wood filler for wood surfaces). Smooth out the patched areas and allow them to dry completely before sanding.3. Sanding
Smooth surfaces are essential for a flawless paint finish. Use sandpaper or a sanding block to lightly sand the entire surface after patching and repairs. This step helps to remove rough spots, old paint, and imperfections, ensuring an even base for your new paint.
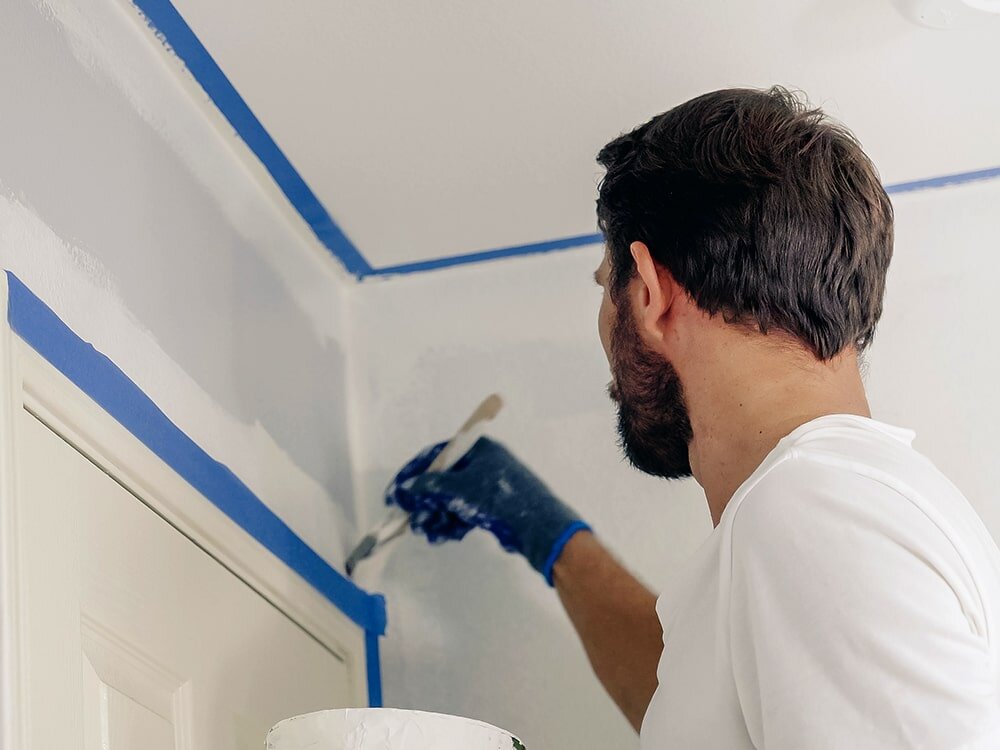
4. Masking and Protecting
Before you start painting, take the time to mask off areas you don't want to paint, such as trim, windows, and floors. Use painter's tape and plastic sheeting to protect these areas from accidental paint splatters and drips. Proper masking ensures clean lines and a professional finish.5. Priming
Priming is often overlooked but plays a critical role in the longevity and appearance of your paint job. Apply a high-quality primer to your surfaces after sanding. Primer helps to seal the surface, improve adhesion, and provides a uniform base coat for your paint to adhere to. Choose a primer that is suitable for your surface typeTools and Materials Needed
To prep like a pro, gather the following tools and materials:- Cleaning supplies (sponges, rags, etc...)
- Patching compound or filler
- Sandpaper or sanding block (medium to fine grit)
- Primer (appropriate for your surface type)
- Painter's tape and plastic sheeting
- Drop cloths or old sheets to protect floors and furniture
Common Mistakes to Avoid
- Skipping Cleaning and Inspection: Neglecting to clean and inspect surfaces thoroughly can lead to paint adhesion issues and uneven finishes.
- Rushing the Patching and Repair Process: Properly filling and smoothing cracks and holes is essential for a seamless paint job.
- Skipping Primer: Primer helps paint adhere better and ensures consistent color and sheen across the surface.
- Masking and Protection: Neglecting to protect adjacent surfaces can result in messy clean-up and extra work.
We would love to see your color refreshes, use #mywilcolife on Facebook, Twitter, or Instagram and tag Wilco Stores.
Orders
Services
About
Your Wilco Store

Store Hours
Monday - Saturday 7am - 8pm, Sunday 9am - 6pm

Need Help?
For questions or help with online orders call: (888) 78-WILCO
Limited to stock on hand. Some items may vary from photos. Because of store size limitations or geography, some items featured may not be available in all stores but will be made available by special order during sale periods at advertised prices. All sale prices listed as “dollars off” or “% off” are discounted from our regular posted shelf price, not from discounts given with specialty, bulk or pallet pricing. Reseller and Drop-shippers must contact us for pre-approval to place orders with the intent to re-distribute.
© 2026, Wilco Farm Store