Shopping at Pasco - Monday - Saturday 7am - 8pm, Sunday 9am - 6pm
PascoMonday - Saturday 7am - 8pm, Sunday 9am - 6pm

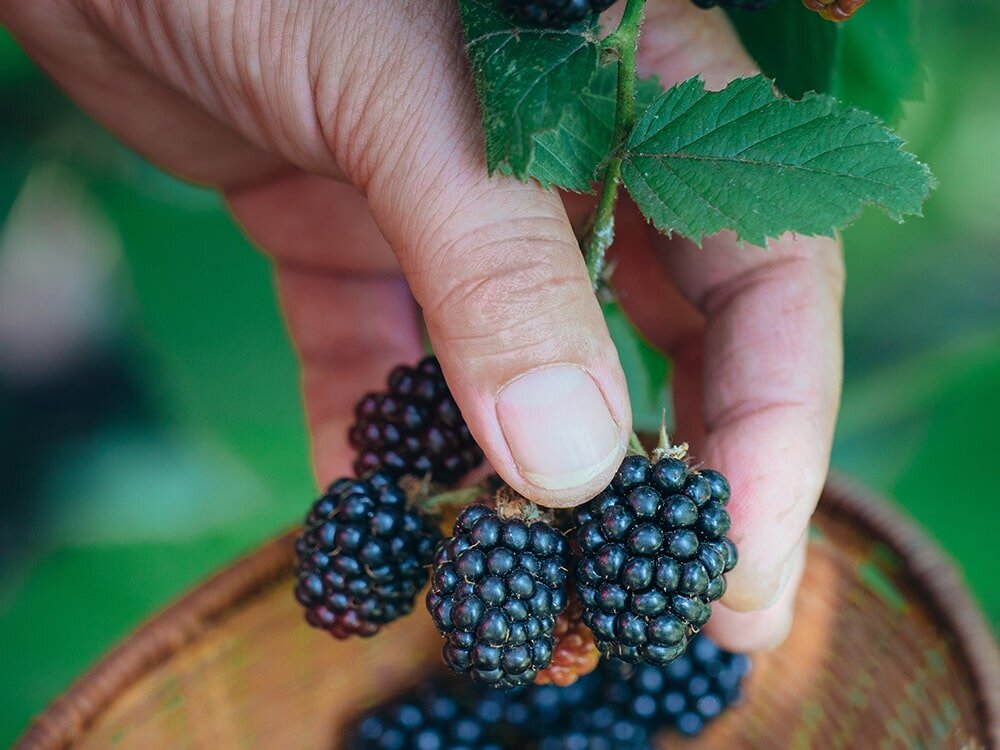
Like many people around me, I have a patch of blackberries the size of a small house in my backyard. Each summer, I climb through the brambles to reach the biggest, juiciest blackberries I can. Thorns catch on my arms and in my hair, but I am undeterred. The taste of a sun-warmed blackberry has no equal. And if I can control my snacking, I may even escape with enough to make a cobbler – the quintessential dessert for August in the Pacific Northwest.
But what if you could casually pick even bigger, juicier berries while strolling through the garden? What if you didn’t have scratches up and down your arms and thorns in your fingers? And what if you could choose the variety of cane berry you like the most instead of settling for the invasive Himalayan blackberry we all accept as native?
 Let me tell you a story. It starts in the winter, when everything is dead in the garden. Even the blackberry bush in the backyard has died back to its baby-leg sized canes. A gardener – dreaming of spring – walks into an empty garden center. But it’s not really empty. In the middle of the yard, there are sticks poking out of a bucket of sawdust. They don’t look very promising, but you really want something to grow. So you investigate.
Garden signs read Ollalie, Canby, Amity, Fall Gold, and Caroline – all different cane berries to choose from. Both blackberries, raspberries, and cross varieties like loganberries and boysenberries are available. And each one has its own special qualities, not the least of which is you can plant them in the garden and pick them at your leisure – some even come thornless.
It’s easiest to grow something successfully when you understand the plant. So here’s what you need to know to plant a successful berry patch.
Let me tell you a story. It starts in the winter, when everything is dead in the garden. Even the blackberry bush in the backyard has died back to its baby-leg sized canes. A gardener – dreaming of spring – walks into an empty garden center. But it’s not really empty. In the middle of the yard, there are sticks poking out of a bucket of sawdust. They don’t look very promising, but you really want something to grow. So you investigate.
Garden signs read Ollalie, Canby, Amity, Fall Gold, and Caroline – all different cane berries to choose from. Both blackberries, raspberries, and cross varieties like loganberries and boysenberries are available. And each one has its own special qualities, not the least of which is you can plant them in the garden and pick them at your leisure – some even come thornless.
It’s easiest to grow something successfully when you understand the plant. So here’s what you need to know to plant a successful berry patch.First, cane berries are perennial plants – they come back year after year. But they have a biennial growth pattern – canes grow one year, fruit the next, then die as new canes grow. These are called June bearing plants. Some varieties (ever bearing) fruit on all growth and will give you some berries in early summer on old growth, but prefer new growth for a good fall harvest. Either way, you trim back the old to make room for the new. “If the cane is green, let it be seen. If the cane is brown, cut it down.”
Primocane and floricane are the fancy words for the different ages of canes. I remember it because primo means first and primocane is the first year growth. Floricane is like flora – flowers – which is the second year growth where blossoms and fruit will grow. So at the end of the season, cut back the places where you harvested fruit this year.
It’s also important to remember that cane berries like to spread in more than one way. Blackberries will tip over and where they hit the ground, will sprout new roots – think of the way strawberries spread. You can actually harvest these new plants and start a new row. Raspberries send out runners underground and then sprout up somewhere new. Although you can still cut these from the mother plant and start them somewhere else, these are harder to manage and need to be “nipped in the bud” as soon as you see them.
When you get your bare root canes from the store, you want to make sure they don’t dry out. If you can, plant them immediately. If not, stick them in some damp sawdust or cover the roots with damp soil. This is called “heeling in” a plant – the goal being to keep the plant in dormancy until you put it in the ground for good. Before you plant the cane, trim the roots back to about six inches long and soak the roots in water for about an hour.
All cane berries have shallow roots – only about 4” deep – so it’s important that they have rich, nutritious soil. But they also need good drainage. Berries don’t like to have their feet wet. In fact, as hardy as they are, cane berries tend to be susceptible to root rot so even with good drainage, they don’t want to be watered more than every 10-14 days.
Cane berries like to have full sun or late shade. This means they need that hot part of the day to prosper. They are also plagued by an insect called the Spotted Wing Drosophila (SWD). These creatures love humid, dark areas. With these two issues in mind, there is a cool way to trellis your berries so they have the most sun and fresh air blowing through their leaves all summer long.
 Imagine an inverted triangle with the plant’s roots growing at the base. As the triangle spreads open, so do the canes. You can create this with a v-shaped or “two-line” trellises where you spread the floricane out, securing them to a wire that runs both sides of the length of the row, and opening the center of the bush to sunlight.
And a note about planting rows. When planting bare root cane berries, it can be tempting to plant them closer together – they’re only sticks, right? But you want to plant for a long-term patch. And quicker than you think, you’ll have a thicket to contain. Planting about four feet apart down the row works for both black and raspberries – although raspberries can handle a little closer. And as for distance between rows, remember, you will be walking between these rows to pick, so you want to have room. Give your rows six to eight feet in between to make it easy.
While it’s wonderful to have luscious, full bushes, letting your cane berries grow out of control isn’t the best practice (remember that berry patch in the backyard?). If you keep your patch thinned, you will always be able to reach those delicious berries. With that in mind, a good rule of thumb is to never allow your row to grow wider than about 18 inches and cut back all but five to eight primocanes per plant so you can give them room to breathe.
No matter what cane berries you choose to plant, you will reap the benefits all summer long. And without having to climb through the brambles to get to them, you’ll have more time to bake, can, or freeze those yummy treats for later…if you can get enough to the house before eating them all.
Imagine an inverted triangle with the plant’s roots growing at the base. As the triangle spreads open, so do the canes. You can create this with a v-shaped or “two-line” trellises where you spread the floricane out, securing them to a wire that runs both sides of the length of the row, and opening the center of the bush to sunlight.
And a note about planting rows. When planting bare root cane berries, it can be tempting to plant them closer together – they’re only sticks, right? But you want to plant for a long-term patch. And quicker than you think, you’ll have a thicket to contain. Planting about four feet apart down the row works for both black and raspberries – although raspberries can handle a little closer. And as for distance between rows, remember, you will be walking between these rows to pick, so you want to have room. Give your rows six to eight feet in between to make it easy.
While it’s wonderful to have luscious, full bushes, letting your cane berries grow out of control isn’t the best practice (remember that berry patch in the backyard?). If you keep your patch thinned, you will always be able to reach those delicious berries. With that in mind, a good rule of thumb is to never allow your row to grow wider than about 18 inches and cut back all but five to eight primocanes per plant so you can give them room to breathe.
No matter what cane berries you choose to plant, you will reap the benefits all summer long. And without having to climb through the brambles to get to them, you’ll have more time to bake, can, or freeze those yummy treats for later…if you can get enough to the house before eating them all.
We would love to see your garden growing, use #mywilcolife on Facebook, X, or Instagram and tag Wilco Stores.
Imagine an inverted triangle with the plant’s roots growing at the base. As the triangle spreads open, so do the canes. You can create this with a v-shaped or “two-line” trellises where you spread the floricane out, securing them to a wire that runs both sides of the length of the row, and opening the center of the bush to sunlight.
And a note about planting rows. When planting bare root cane berries, it can be tempting to plant them closer together – they’re only sticks, right? But you want to plant for a long-term patch. And quicker than you think, you’ll have a thicket to contain. Planting about four feet apart down the row works for both black and raspberries – although raspberries can handle a little closer. And as for distance between rows, remember, you will be walking between these rows to pick, so you want to have room. Give your rows six to eight feet in between to make it easy.
While it’s wonderful to have luscious, full bushes, letting your cane berries grow out of control isn’t the best practice (remember that berry patch in the backyard?). If you keep your patch thinned, you will always be able to reach those delicious berries. With that in mind, a good rule of thumb is to never allow your row to grow wider than about 18 inches and cut back all but five to eight primocanes per plant so you can give them room to breathe.
No matter what cane berries you choose to plant, you will reap the benefits all summer long. And without having to climb through the brambles to get to them, you’ll have more time to bake, can, or freeze those yummy treats for later…if you can get enough to the house before eating them all.
BLACKBERRY COBBLER This is the recipe that I’ve always used. Some people like to put the biscuit dough on the bottom, but I’ve always thought of the bumpy drop biscuits on top like a cobblestone path.
Berry Mix
Biscuits
|
Robyn Rogers, the author of this blog is located on the Kitsap Peninsula in Washington and her advice is consistent with the climate there. Her opinions of what works for her garden and backyard. Always read labels of products before using them. Your Wilco team is available if you have any questions specific to your area.
We would love to see your garden growing, use #mywilcolife on Facebook, X, or Instagram and tag Wilco Stores.
Orders
Services
About
Your Pasco Wilco Store

Store Hours
Monday - Saturday 7am - 8pm, Sunday 9am - 6pm

Need Help?
For questions or help with online orders call: (888) 78-WILCO
Limited to stock on hand. Some items may vary from photos. Because of store size limitations or geography, some items featured may not be available in all stores but will be made available by special order during sale periods at advertised prices. All sale prices listed as “dollars off” or “% off” are discounted from our regular posted shelf price, not from discounts given with specialty, bulk or pallet pricing. Reseller and Drop-shippers must contact us for pre-approval to place orders with the intent to re-distribute.
© 2026, Wilco Farm Store